

Every long hike includes at least one moment where something important stops working: a pack seam lets go, a pad goes flat, a pole snaps in wind. What separates a 20-minute annoyance from a hitch into town is knowing the fix before you need it. This is the technique guide: how to actually execute each repair with your hands cold and the light fading.
If you’re still deciding what to carry, start with our repair kit guide and quiz. Everything below assumes some combination of tape, needle and thread, and adhesive patches, which is what the Repair Spool packs into 42 g.
First, triage
Field repair has two speeds. Stabilize now: stop the tear from growing, keep the gear usable for the next few miles. Rebuild at camp: do the repair properly, on a clean dry surface, with time for adhesive to cure. Most botched repairs come from doing a camp-quality job at trail speed. Tape on a dirty surface at noon, wonder why it peeled by dinner.
So the pattern for almost everything: tape it now, fix it right tonight.
Fabric tears: packs, jackets, tent canopies
For a clean tear in woven nylon or polyester, an adhesive patch is faster and often more durable than sewing, because it doesn’t put 30 new needle holes in the fabric. Our Threadlock Patch is a woven polyester face with a pressure-sensitive adhesive, 36 × 28 mm and 0.28 g per patch. Technique:
- Clean the area with an alcohol wipe and let it flash off. Sunscreen, DEET, and body oil are the top 3 reasons patches fail.
- Close the tear. Push the edges back together so the patch bridges a gap of fabric, not a hole.
- Apply from the center out, then burnish hard with a thumbnail or spoon for about 20 seconds. Pressure is what activates the adhesive, not heat.
- Patch both sides on high-load fabric like a pack panel. Two patches back to back sandwich the tear.
Tears longer than a patch: shingle 2 or more patches with a few millimeters of overlap, like roof tiles, so water sheds over the joints. If you cut a patch down, round the corners. Square corners peel first. The full material logic, including surface prep and cure times, is in Patch Science: Threadlock vs Airlock.
Blown seams and stitching: when to sew
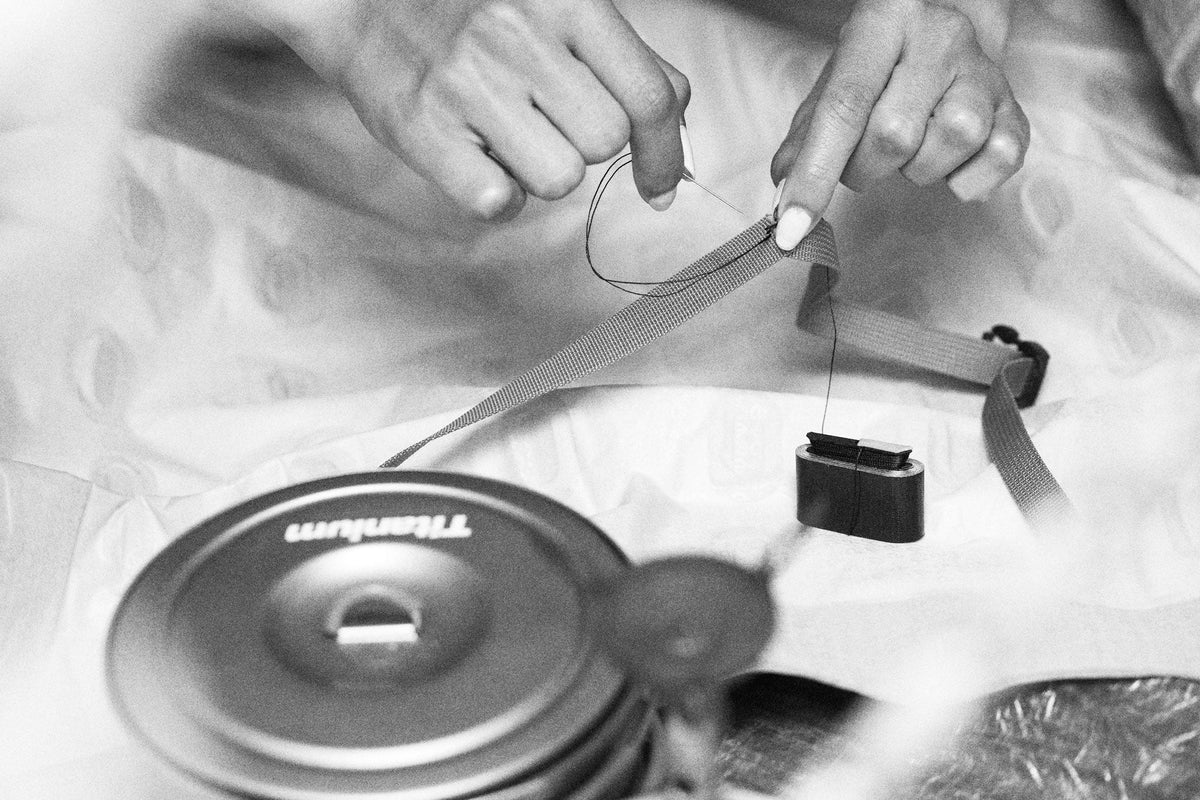
Sew when the failure is structural: a shoulder strap pulling out, a blown hip belt seam, webbing separating from its anchor. Tape and patches carry shear loads fine, but a strap under body weight needs thread. Both the Repair Spool and the 14 g UL Repair Spool carry 3 yd of bonded nylon and a 34 mm needle for exactly this.
- Double the thread and knot the ends together. Bonded nylon is strong enough that the fabric usually fails before the thread does.
- Use a backstitch for seams: each new stitch starts halfway back along the previous one, so there’s no single point of failure.
- For straps and webbing, sew a box with an X through it, the same pattern you’ll find on your pack’s factory bar-tacks. 5 minutes of ugly stitching holds surprisingly well.
- Tape over the stitch line when you’re done. It protects the thread from abrasion and takes the flapping edge out of the wind.
Punctured pad or bladder
Inflatables get their own patch because TPU film is smooth and non-porous; a fabric patch will lift as soon as you re-inflate. The Airlock Patch is clear 0.16 mm TPU with an adhesive matched to TPU surfaces, 0.39 g per patch.
The short version: deflate fully, clean with alcohol, apply the patch with the peel-half-then-roll method, burnish, and give it time. It’s usable immediately and reaches full bond strength at roughly 4 hours, so patch at dinner, sleep on it at full pressure that night. The harder problem is usually finding the hole in the first place; our guide to finding a leak in a sleeping pad covers the soapy water and submersion methods step by step.
Snapped tent pole
A broken pole is a splint job. The old-school fix is the aluminum sleeve some tents ship with; the problem is nobody carries it. Our Tent Tool is a 110 mm carbon fiber tube, 10 g, that doubles as a stake pusher and a pole splint. The splint technique is the same whatever sleeve you use:
- Straighten the break and line the 2 pole sections up inside the sleeve (the Tent Tool’s 11 mm inner diameter fits over most trekking and tent pole sections).
- Center the sleeve over the break so it bridges well past the damage on both sides.
- Tape both ends tightly. This is where the wider 1.88 in Gorilla Tape earns its place: wrap until nothing rotates.
No sleeve at all? A tent stake laid alongside the break and taped hard is the classic improvisation. It’s ugly and it works until town.
Everything else: tape and super glue
- Delaminating shoe sole: clean out the grit, super glue, stand in the shoe while it sets, then wrap the toe with tape for the day.
- Frayed guyline or cord: cut the frayed section, re-tie, and tape the working end. Melt the cut end at camp if you carry a lighter.
- Cracked water bottle or pot handle: tape buys days, sometimes weeks. Replace in town.
- Ripped shoe mesh: stitch loosely with bonded nylon, then tape inside and out. Mesh sewing doesn’t need to be pretty, just needs to stop the run.
The habit that makes all of this work
Check your gear while it’s still fixable. Every few days, run a hand along pack seams, glance at pole sections, listen to your pad as you inflate it. Small damage caught early is a 2-minute patch; the same damage 100 miles later is a rebuild. Prevention and off-trail care get their own post: ultralight gear maintenance for the long haul.